
DIY Lawn Care: Installing Your Own Irrigation System
Introduction to DIY Lawn Irrigation
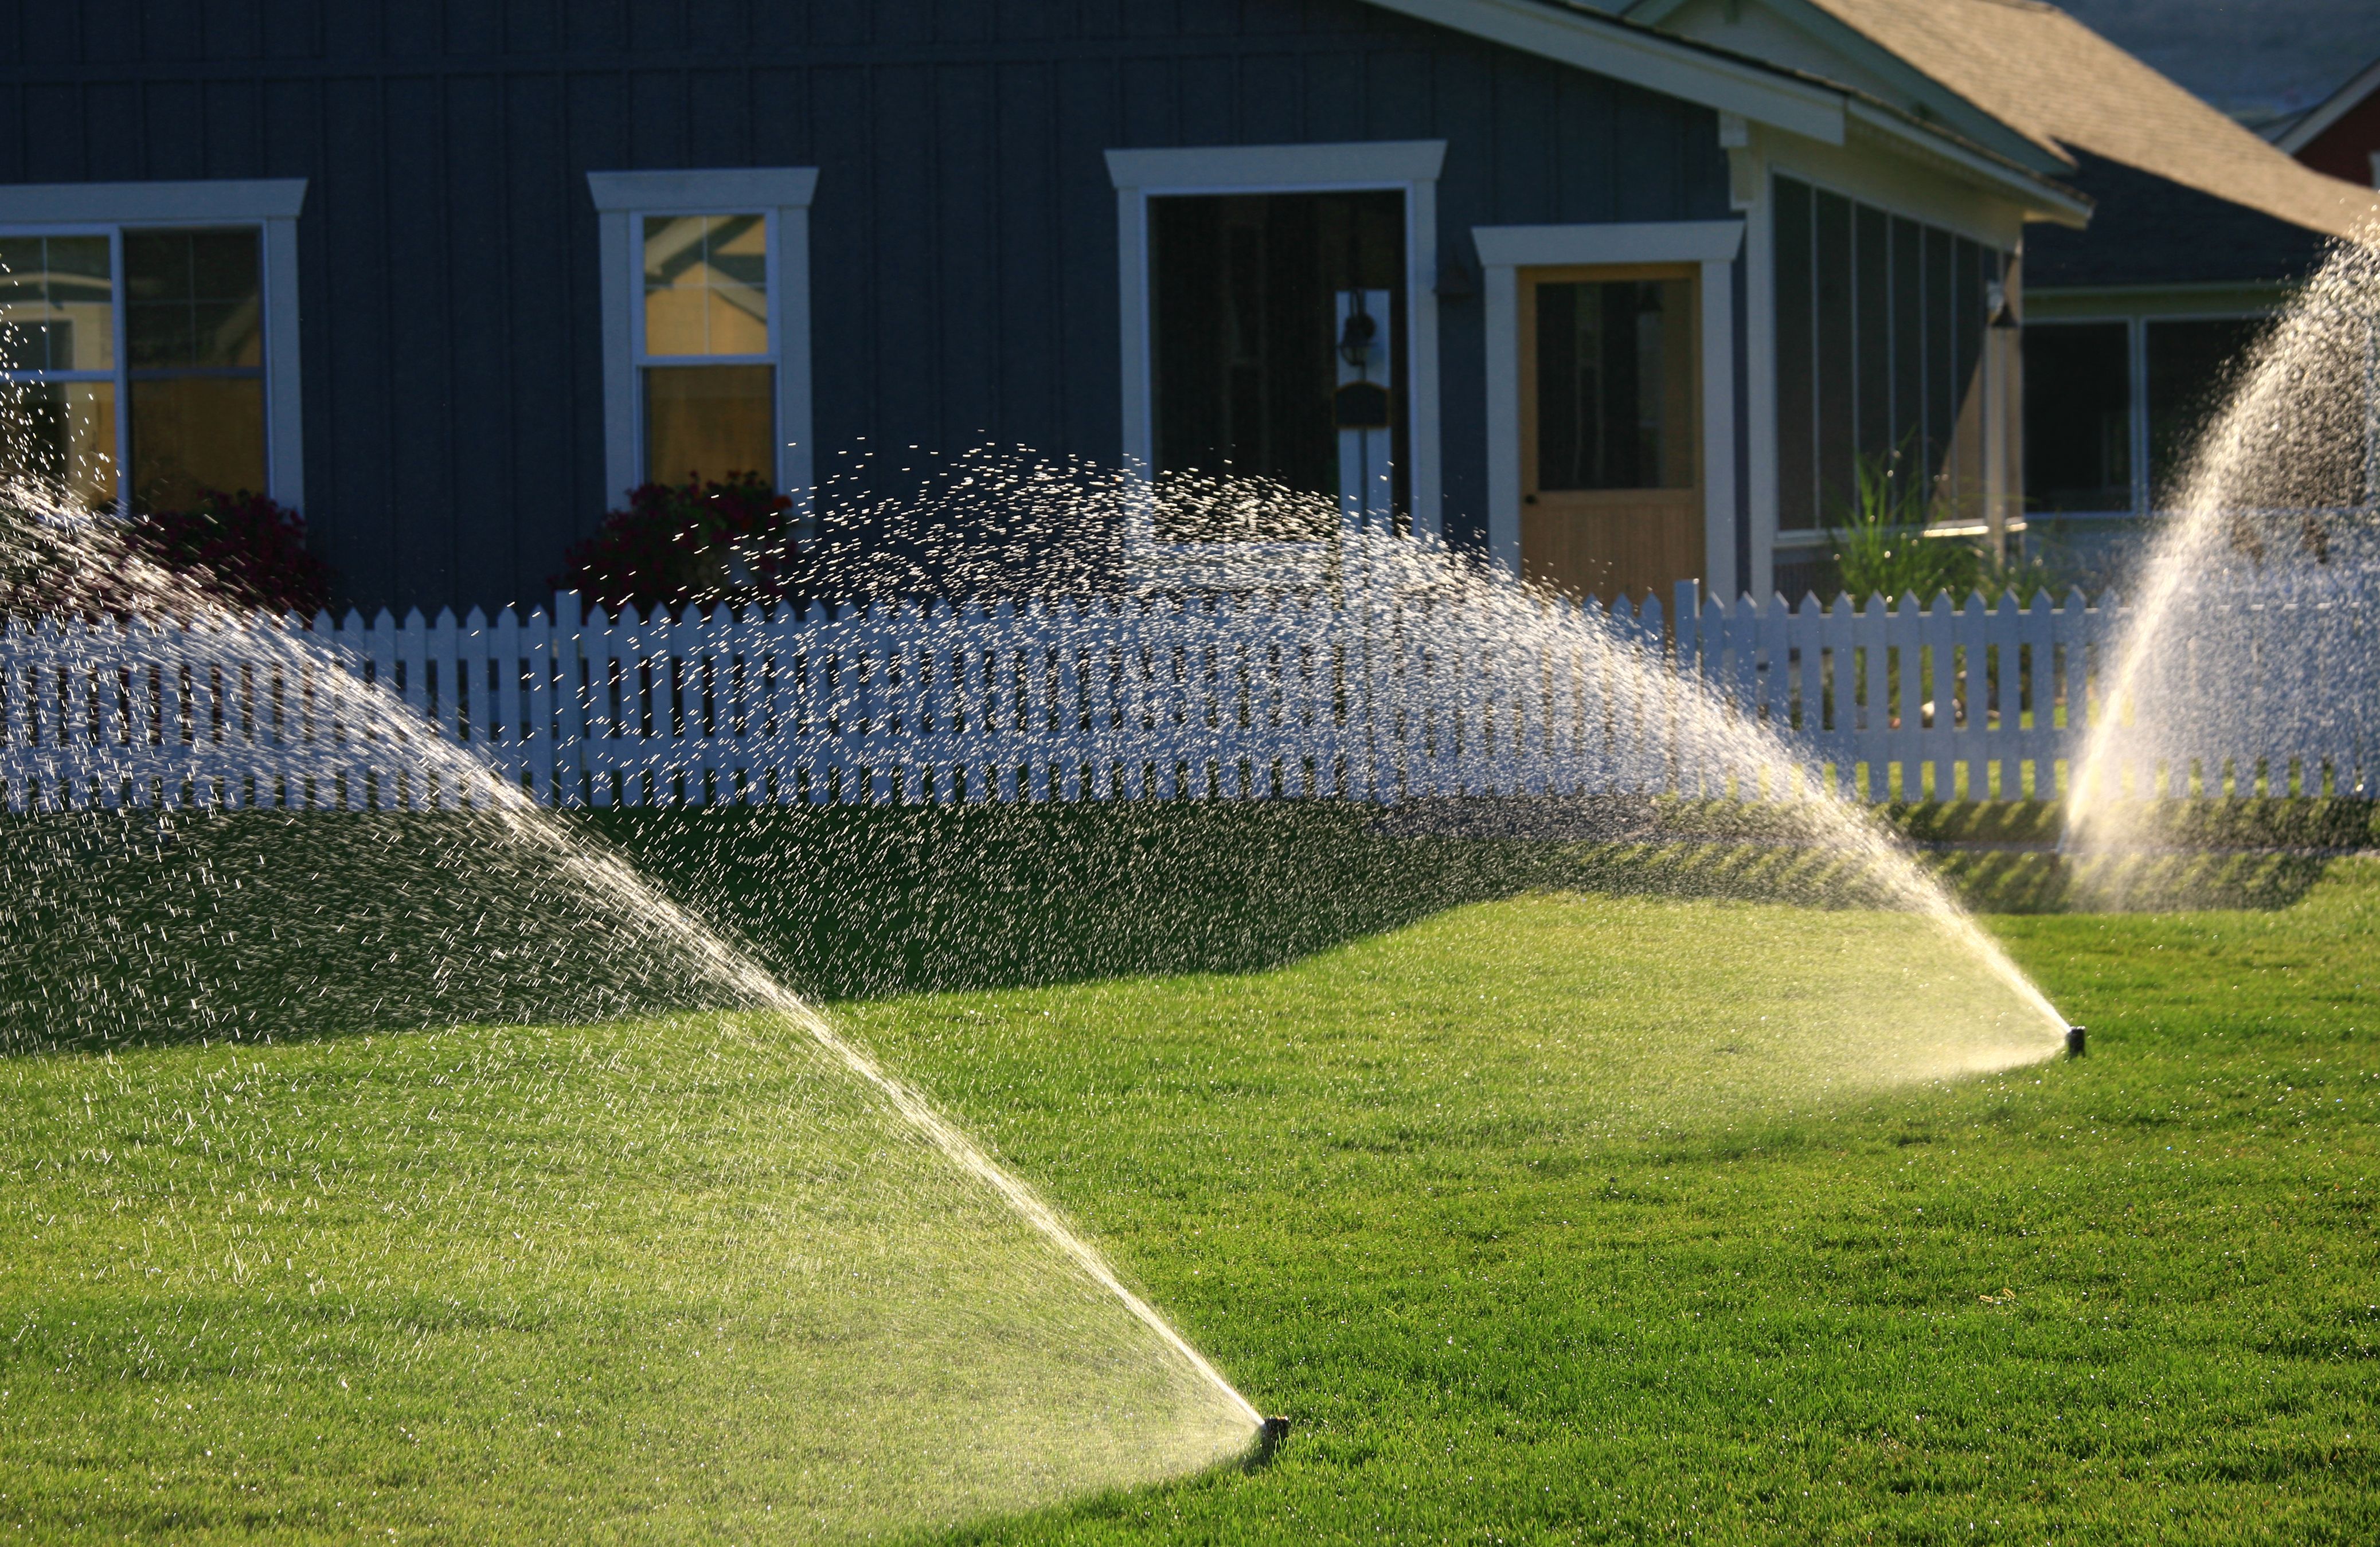
Maintaining a lush, green lawn requires consistent watering, which can be a daunting task if you rely solely on manual methods. Installing your own irrigation system can be a cost-effective solution, ensuring your lawn receives the right amount of water, even when you're not around. This guide will walk you through the process of setting up an irrigation system, so you can enjoy a thriving yard.
Planning Your System
Before diving into installation, it's essential to plan your irrigation system carefully. Consider factors such as the size and shape of your lawn, the local climate, and the type of grass you have. These elements will influence the design and complexity of your system.
Mapping Your Lawn
Start by mapping out your lawn to determine where you need coverage. Identify high-traffic areas, garden beds, and any slopes that may require special attention. Having a clear layout will help you decide the number and types of sprinklers or drip lines needed for efficient coverage.
Gathering Materials
Once you have a plan in place, it's time to gather the necessary materials. Here's a basic list of what you'll need:
- PVC pipes or polyethylene tubing
- Sprinkler heads or drip emitters
- Pipe fittings and connectors
- A backflow preventer
- A timer or smart controller
These components are readily available at most home improvement stores. Additionally, consider investing in a trenching tool if you have a larger area to cover.
Installation Steps
With your materials in hand, you can begin installing your irrigation system. Follow these steps for a successful setup:
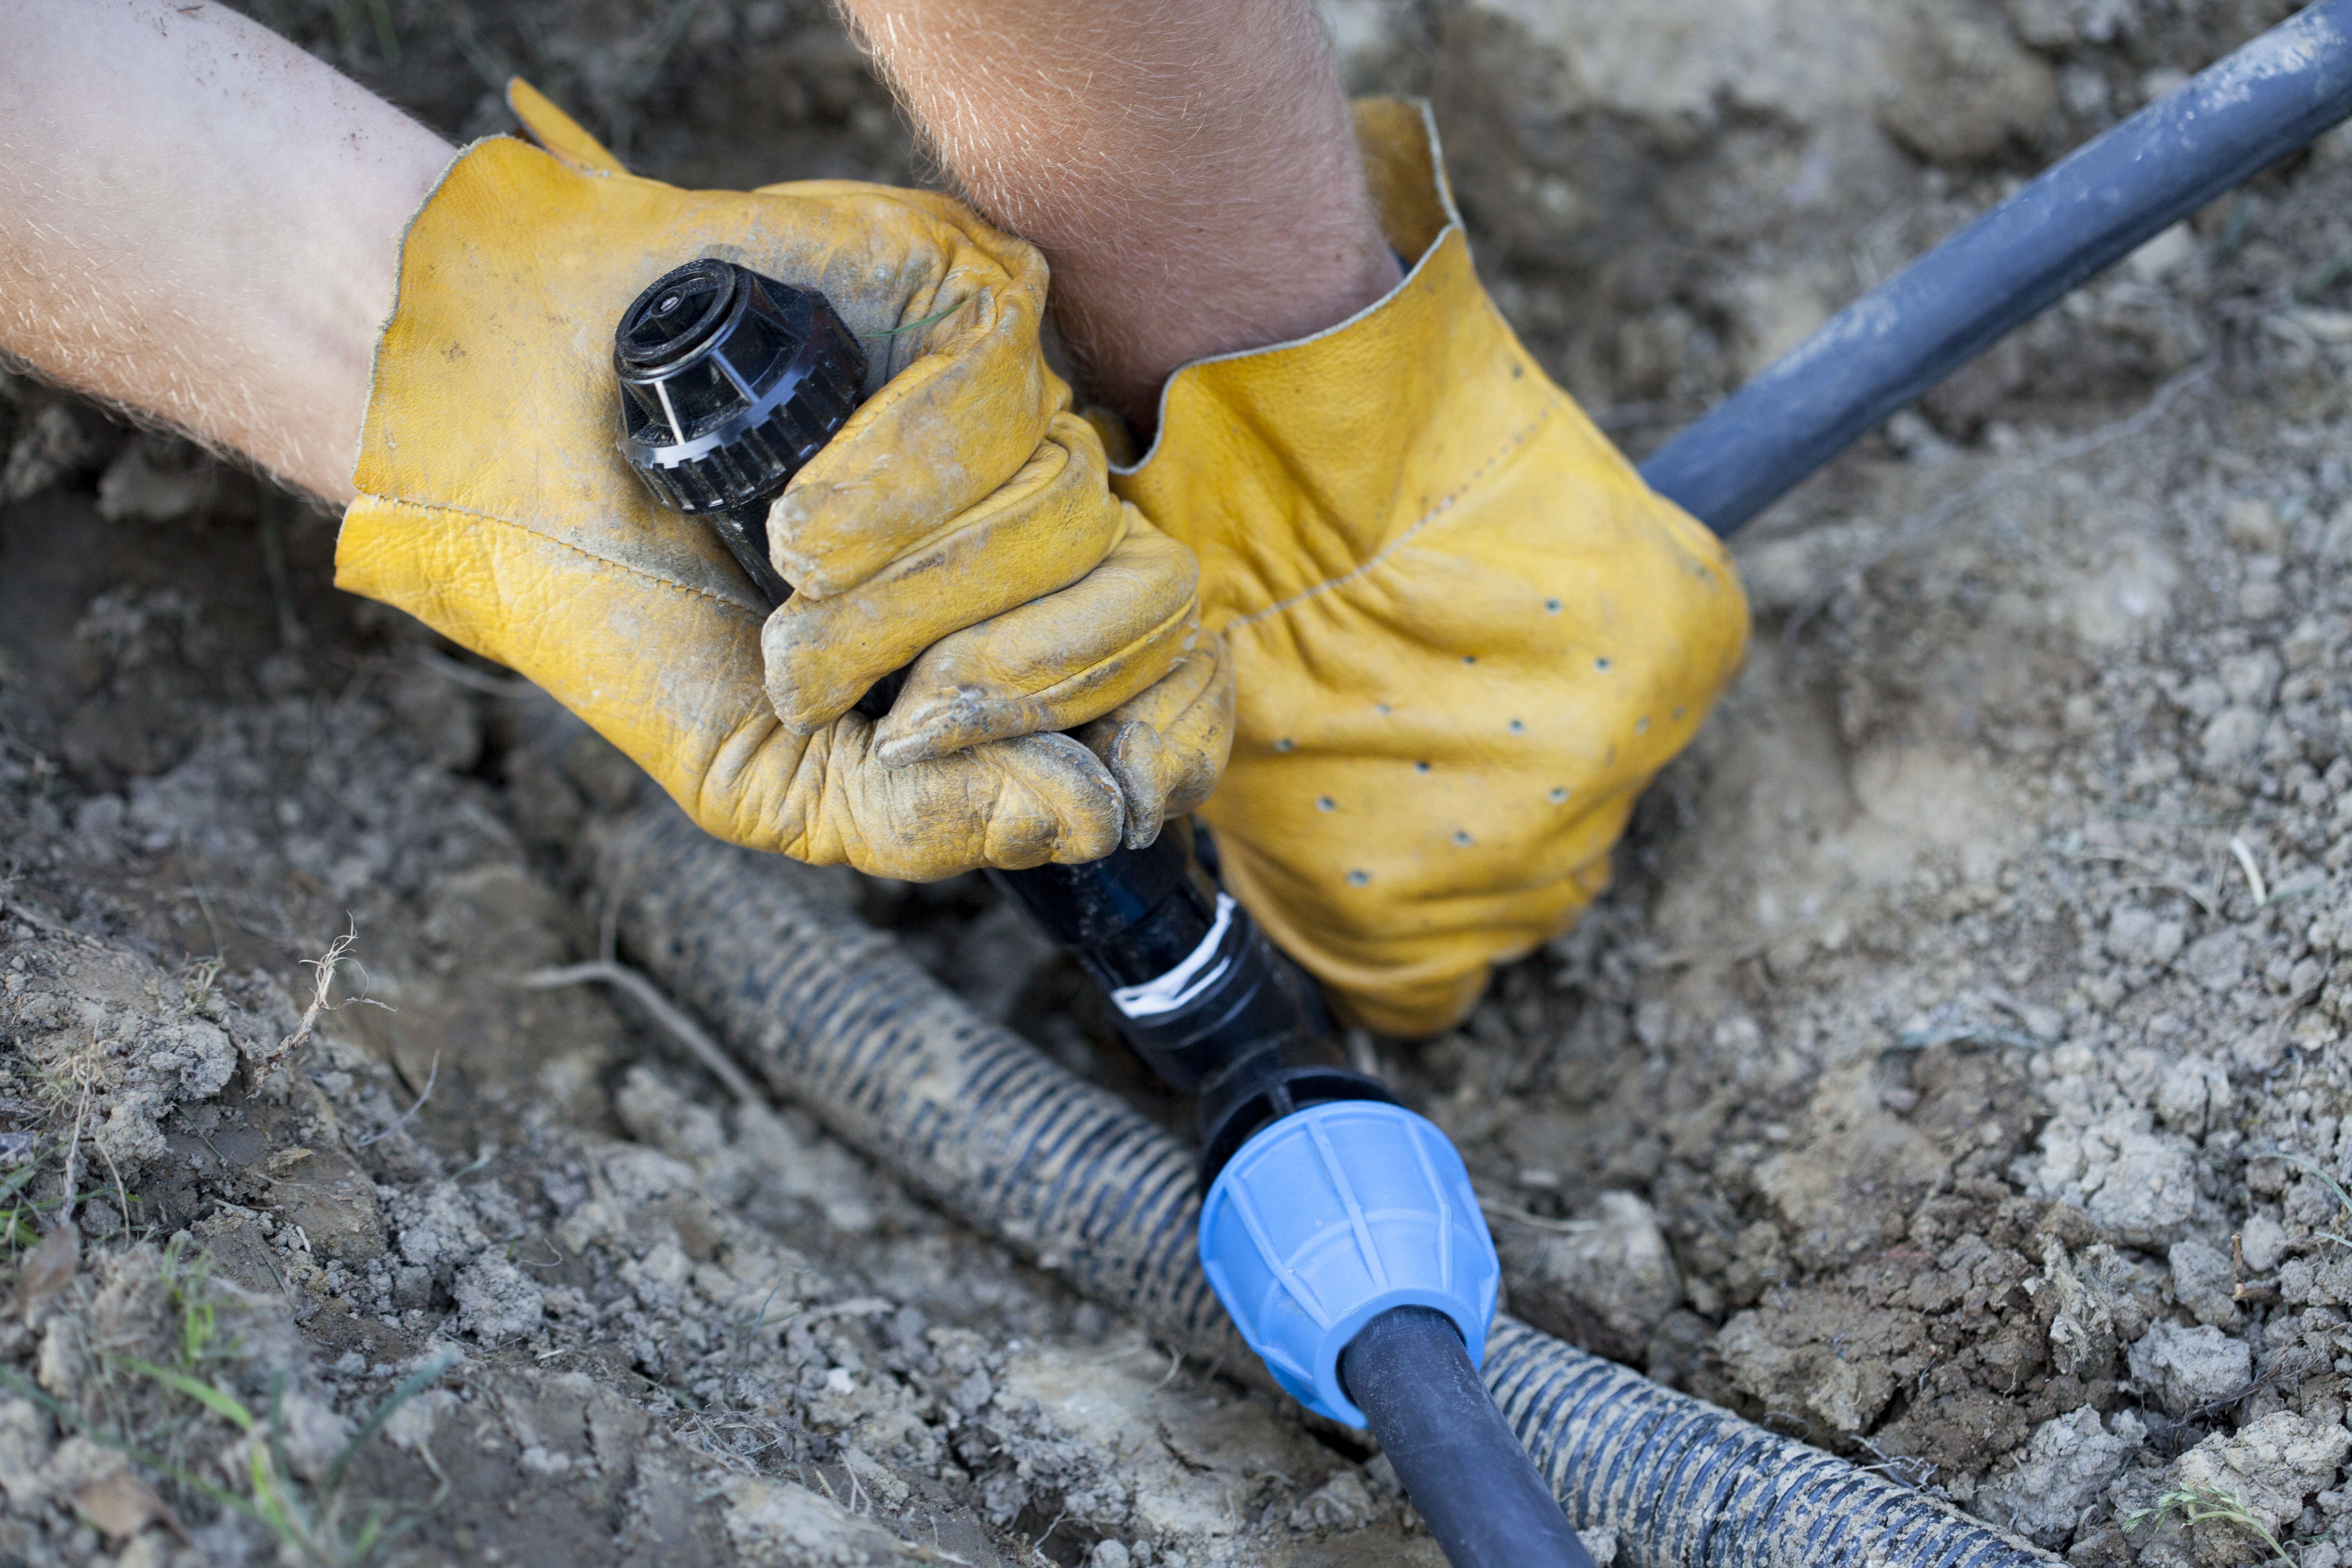
Step 1: Digging Trenches
Start by digging trenches where the pipes will be laid. The depth of the trenches should be about 6 to 12 inches, depending on your climate and soil type. Ensure that the trenches are straight and follow your planned layout.
Step 2: Laying Pipes and Connecting Sprinklers
Lay the pipes into the trenches and connect them using the pipe fittings. Attach the sprinkler heads or drip emitters at designated points. Make sure all connections are secure to prevent leaks.
Testing and Adjustments
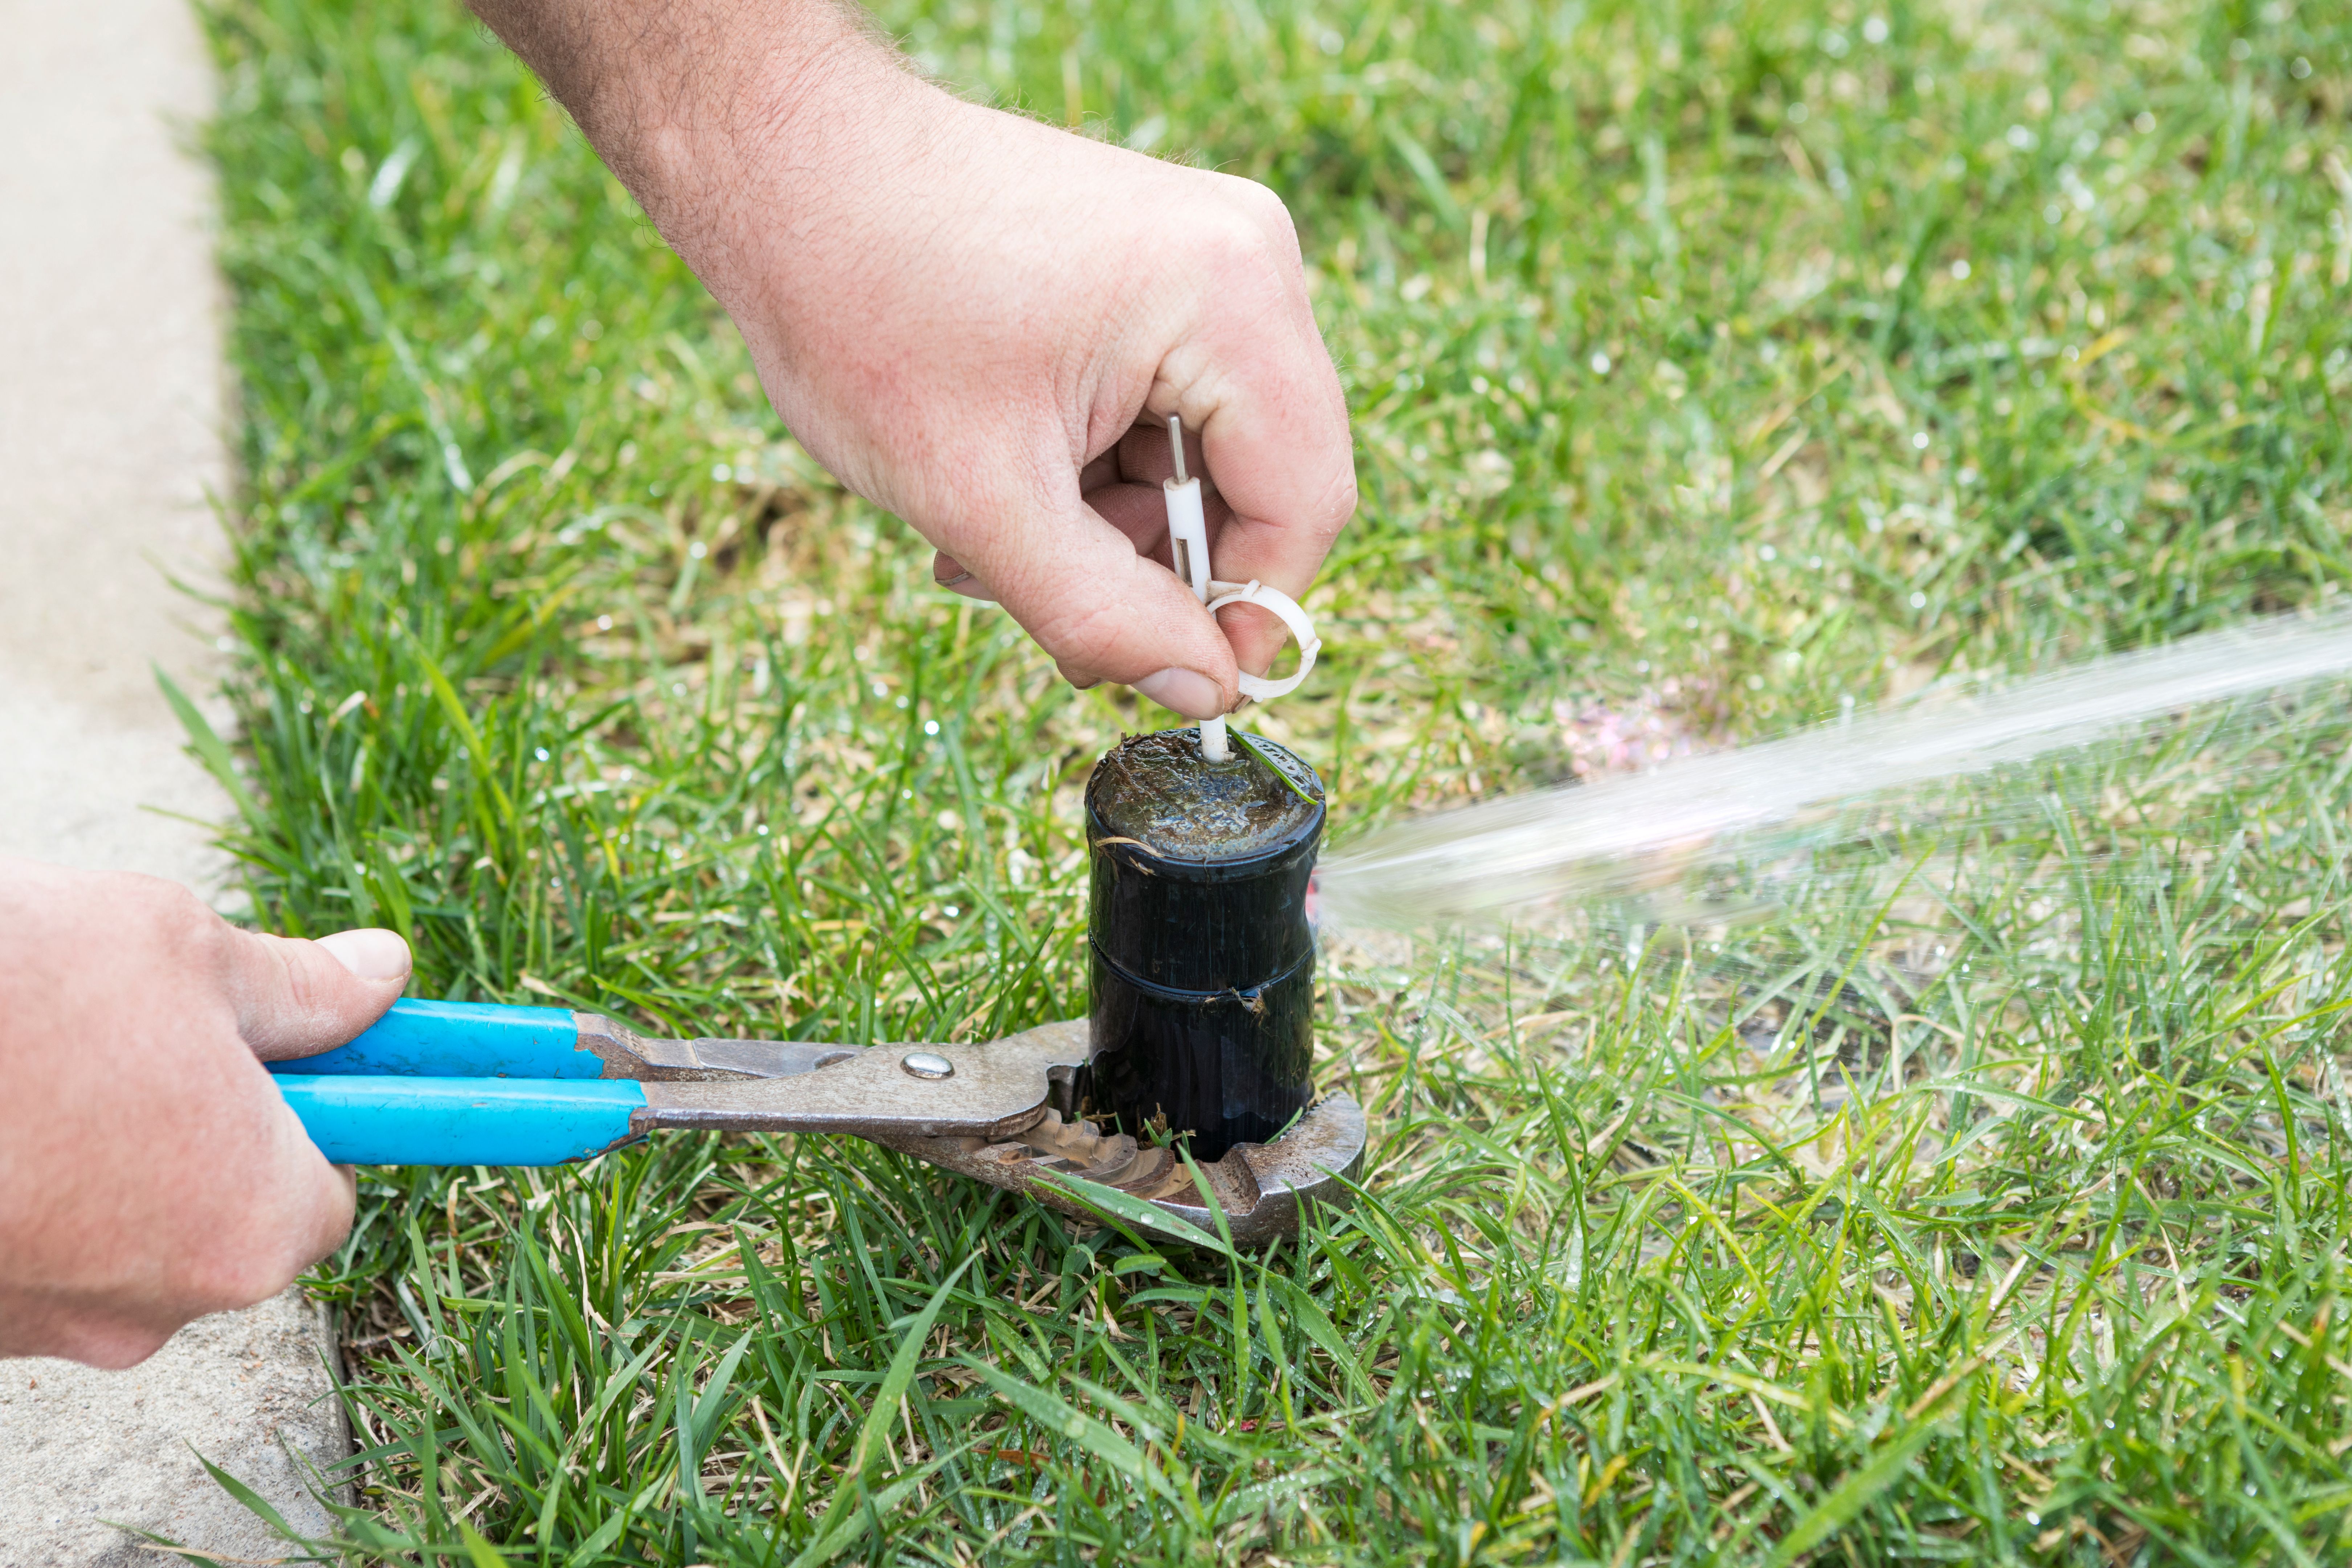
After installation, it's crucial to test your system to ensure everything is functioning correctly. Turn on the water supply and check for any leaks or areas with inadequate coverage. Adjust the sprinkler heads as needed to ensure even distribution across your lawn.
Setting Up the Timer
A timer or smart controller is essential for automating your irrigation schedule. Set it according to your lawn's needs, considering factors like rainfall and evaporation rates. A well-timed system can save water and ensure optimal lawn health.
Maintenance Tips
Regular maintenance will keep your irrigation system running smoothly. Periodically check for clogged sprinkler heads or leaks in the pipes. Clean and adjust components as needed, especially after seasonal changes or severe weather.
By following these steps, you can confidently install an efficient irrigation system, transforming your lawn care routine into a more manageable task while promoting a healthier yard.